
How To Make Coffee Jelly 2 Ways (Coffee Jelly Dessert & Milk Tea)
Coffee jelly is a cool, wiggly dessert that combines the deep flavors of coffee with the fun texture of gelatin. It's like enjoying your coffee in a brand-new way, but as a jiggly treat that you can eat with a spoon. Originating from Japan, this dessert has won over folks who love coffee and those who have a sweet tooth.
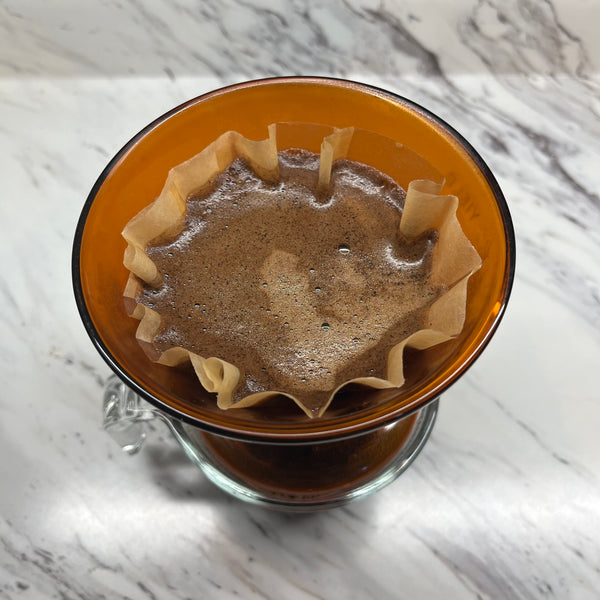
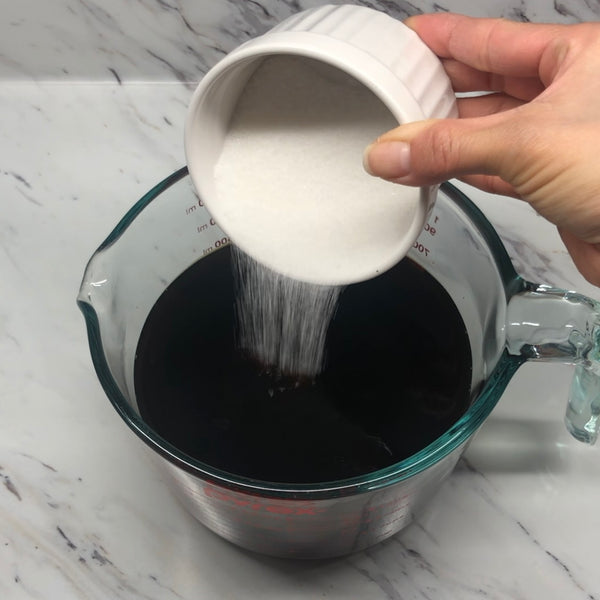
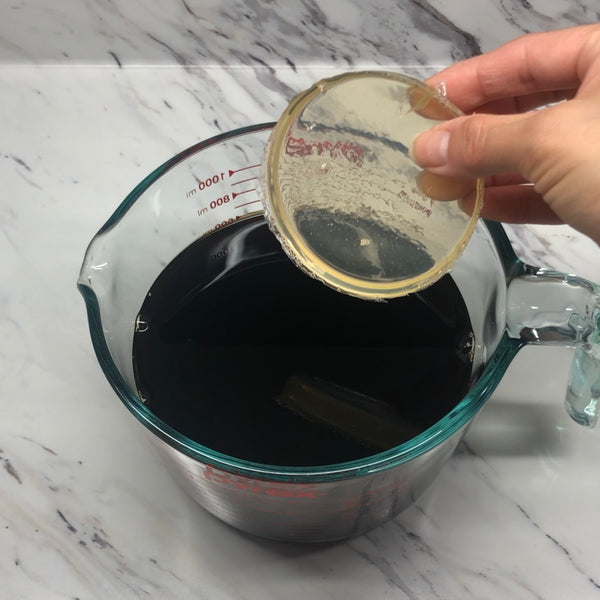
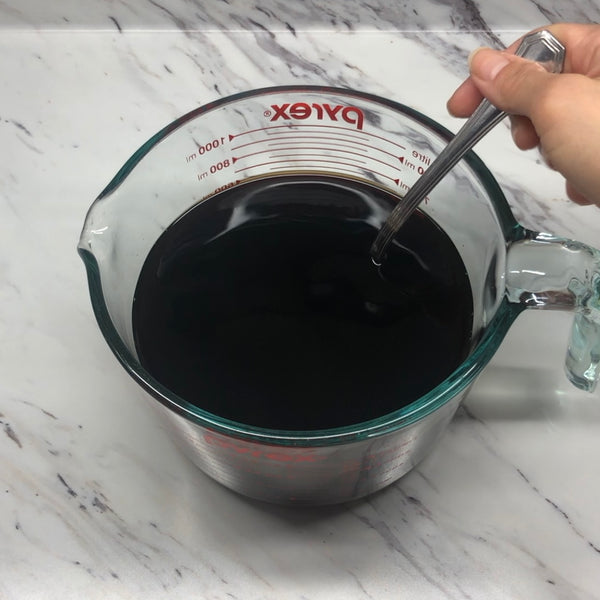
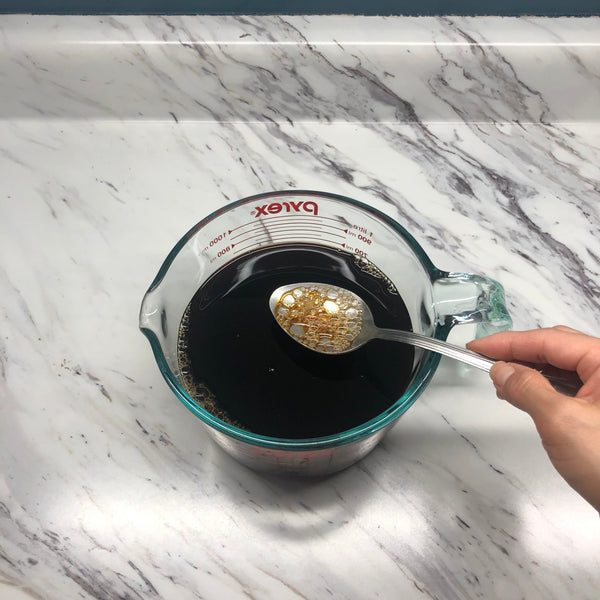
Making coffee jelly is pretty simple. You start by brewing some strong coffee, mix it with sugar to taste, and then dissolve gelatin or agar (for a vegetarian option) in it. Once everything's mixed well, you pour it into a dish to set. After a few hours in the fridge, it firms up into a jelly that you can cut into cubes or any shape you fancy.
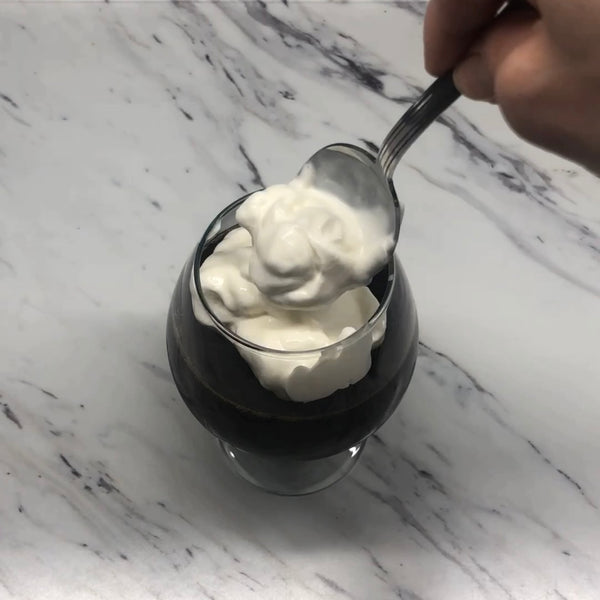
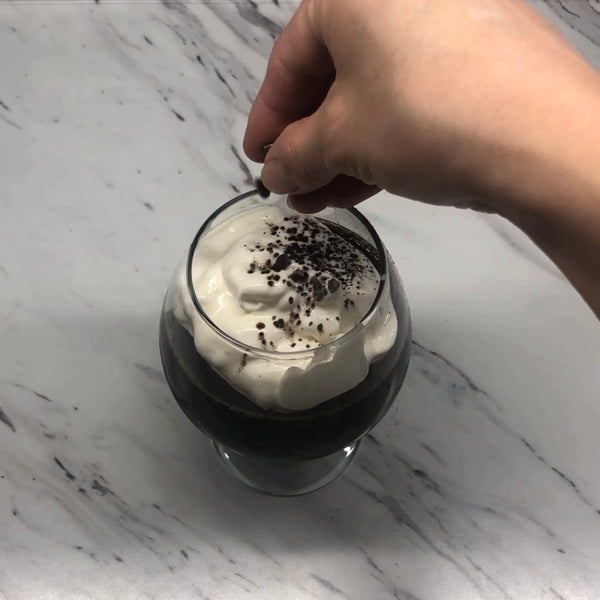
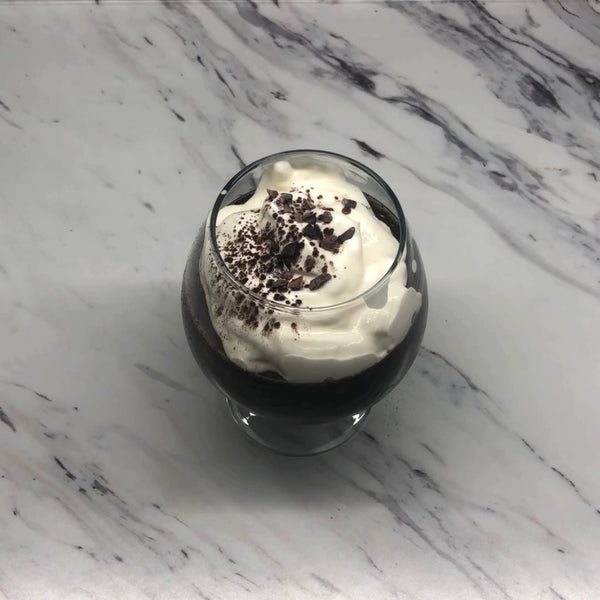
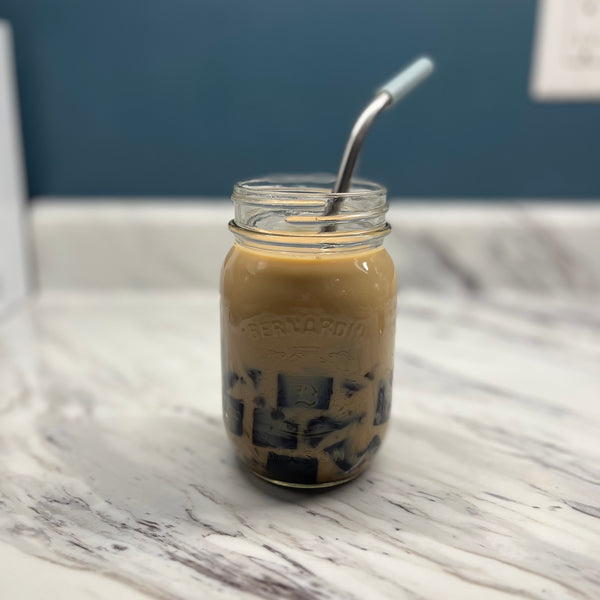
You can enjoy coffee jelly in lots of different ways. Some people like it plain, just enjoying the coffee-flavored jelly on its own. Others top it with whipped cream for a bit of richness, or drizzle it with maple syrup for extra sweetness. You can even toss coffee jelly cubes into milk tea for a fun, textured twist.
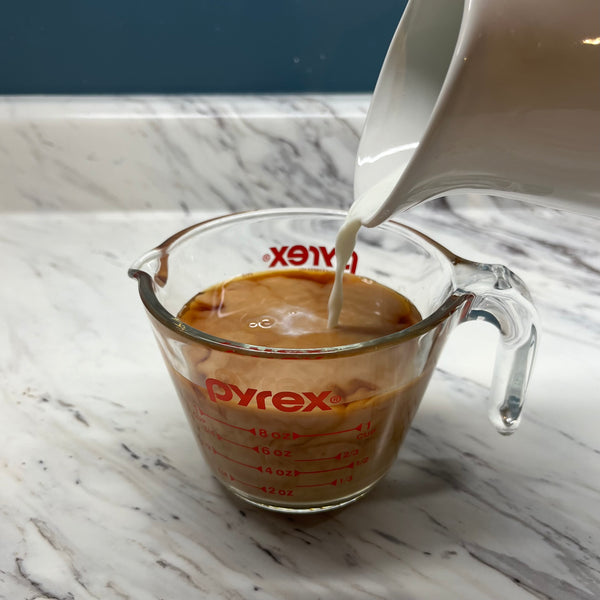
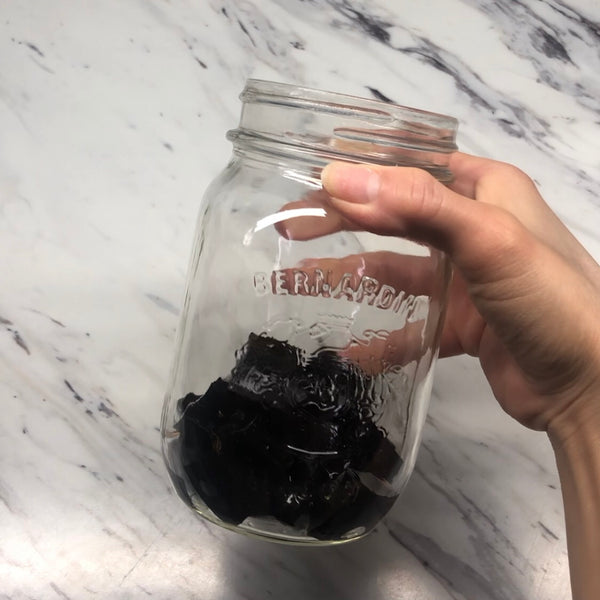
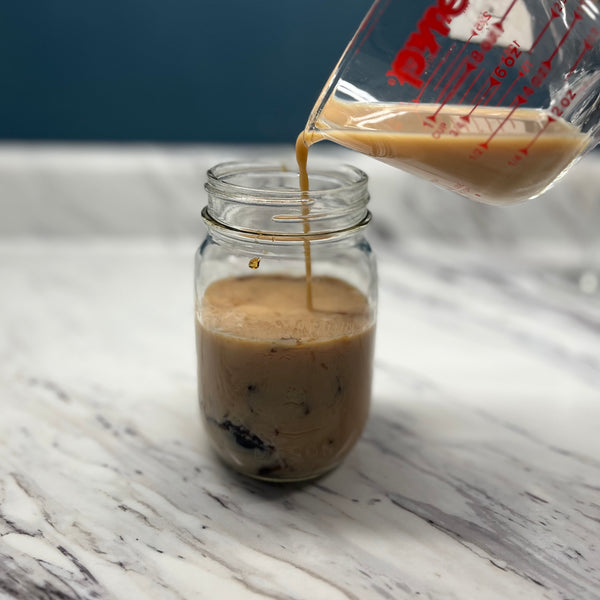
In this recipe, we'll show you just how easily you can make coffee jelly at home and how you can enjoy it in two different ways. We'll show you the classic way to enjoy coffee jelly, topped with freshly-made whipped cream, as well as how you can enjoy it in a glass of milk tea.
What's great about coffee jelly is how easy and versatile it is. Whether you like your coffee strong or mild, you can make coffee jelly to suit your taste. It's a fun, simple dessert that looks fancy without needing a lot of work. Plus, it's a light way to satisfy your sweet craving without feeling too heavy.
So, if you're a coffee lover looking for something new, or you just want a light dessert that's a bit different, coffee jelly could be just the thing. It's a playful and tasty treat that brings a little bit of joy with its jiggly, coffee goodness.
Overview
Prep time: 5 mins
Cook time: 5 mins
Total time: 10 mins
Total servings: 2
Difficulty: Easy
Ingredients
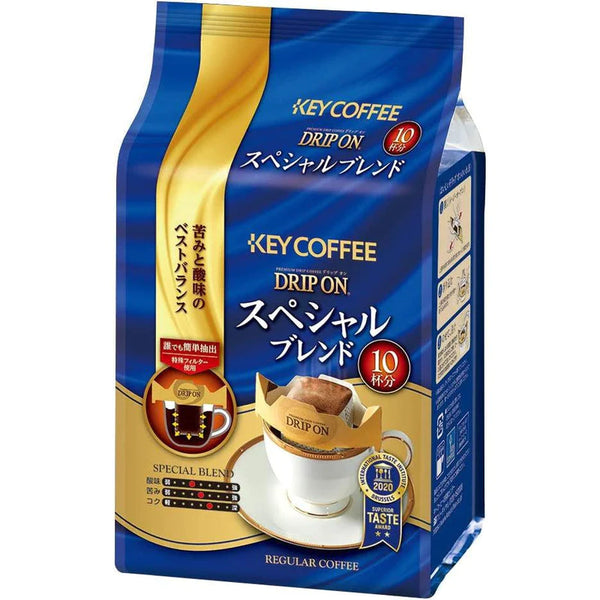
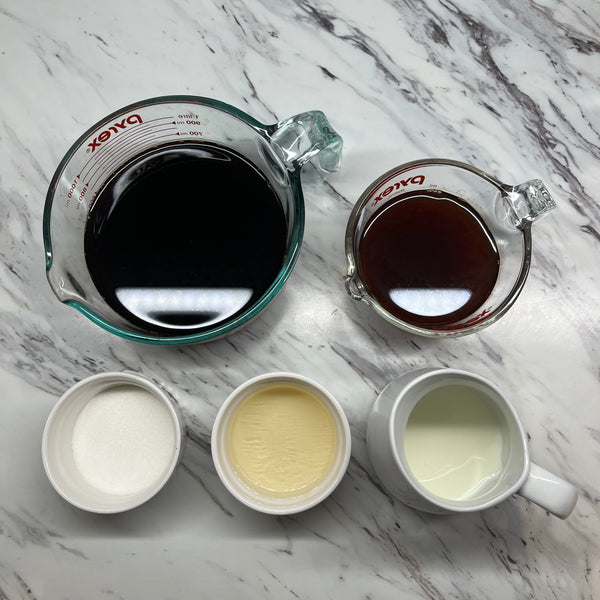
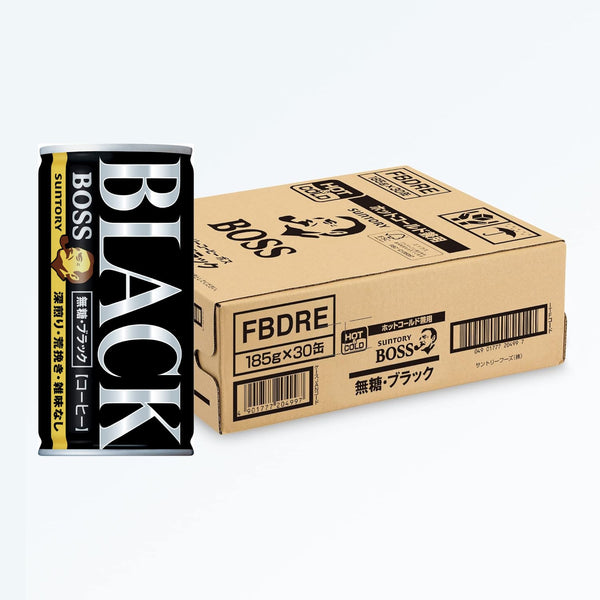
- 600 ml Brewed Coffee
- 80 g White Sugar
- 10 g Gelatin Powder (or Agar Agar)
- Whipped Cream, optional (for topping)
- Cocoa Powder, optional (for topping)
- Cocoa Nibs, optional (for topping)
- 300 ml Black Tea (for milk tea)
- 50 ml Milk, or Milk Alternative of choice (for milk tea)
Expert's Tip
Instructions


0 comments