
How To Make Harumaki (Japanese Spring Rolls) At Home
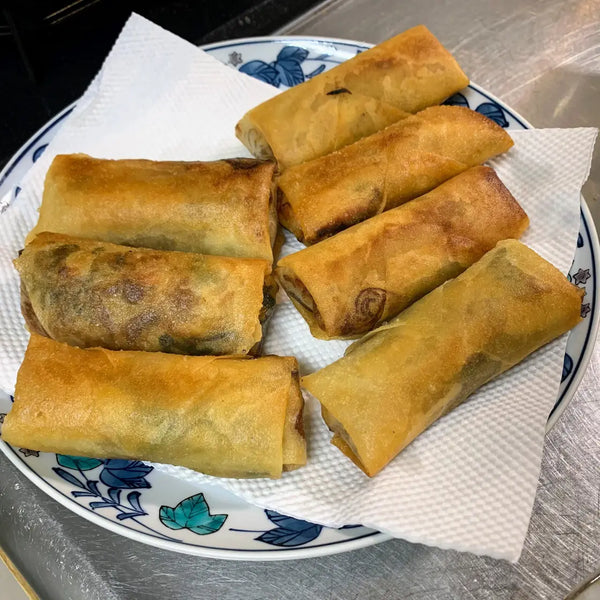
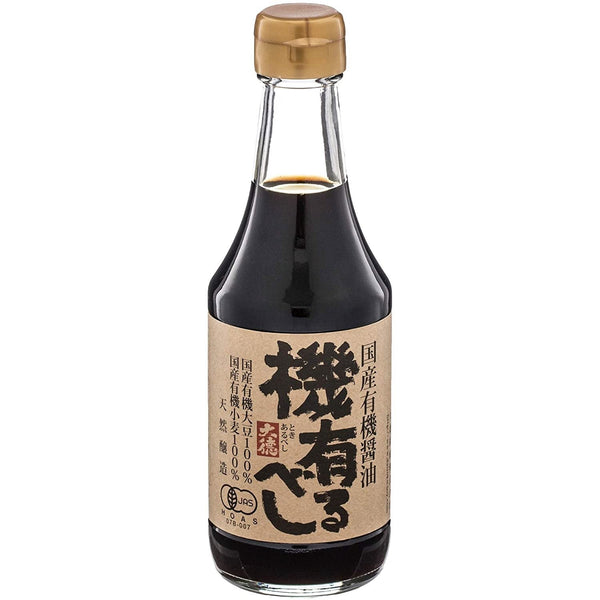
Harumaki is similar to a Chinese eggroll. It is a crispy Japanese spring roll filled with delicious ingredients such as pork, shiitake mushrooms, carrots, bamboo shoots, and vermicelli noodles. The outside is crunchy and crispy while the inside contains perfectly seasoned ingredients. Harumaki is eaten with soy sauce and spicy mustard.
Harumaki is commonly eaten during the spring. In fact, the meaning of harumaki can be translated into “Haru = Spring” and “Maki = Wrapping”. It is a food that contains bamboo shoots, which is a typical spring vegetable. While harumaki has been a staple in Japanese cuisine for a long time, it is not known when it was introduced to Japan. However, harumaki does have Chinese roots and is believed to have been introduced around the 19th century. During this time, travel between Japan and China became more common, so there was a lot of cultural influence and exchanges between the two countries.
Harumaki is greatly loved by the Japanese and is a staple dish at many Chinese restaurants in Japan along with gyoza (dumplings) and shumai. Harumaki can also be found in the prepared food sections or frozen food sections at supermarkets.
Of course, harumaki can be made at home too! The recipe and ingredients used vary depending on the family, as well as the shape. The most commonly found shape for harumaki is similar to that of a Chinese eggroll, but some families may add more or less filling to make the harumaki thicker or thinner.
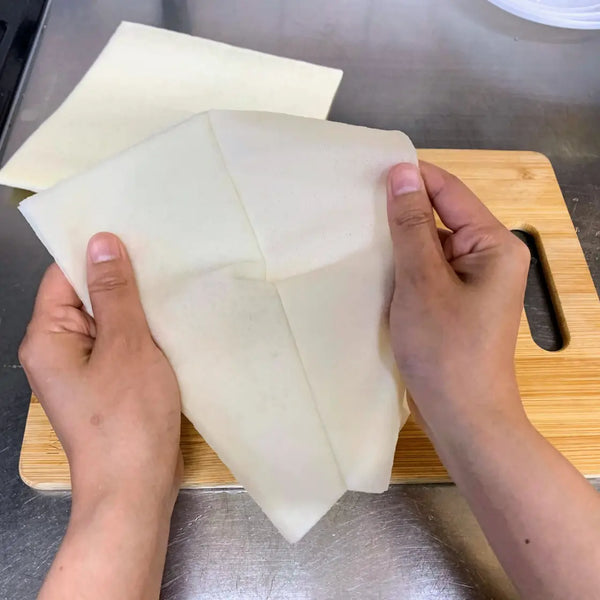
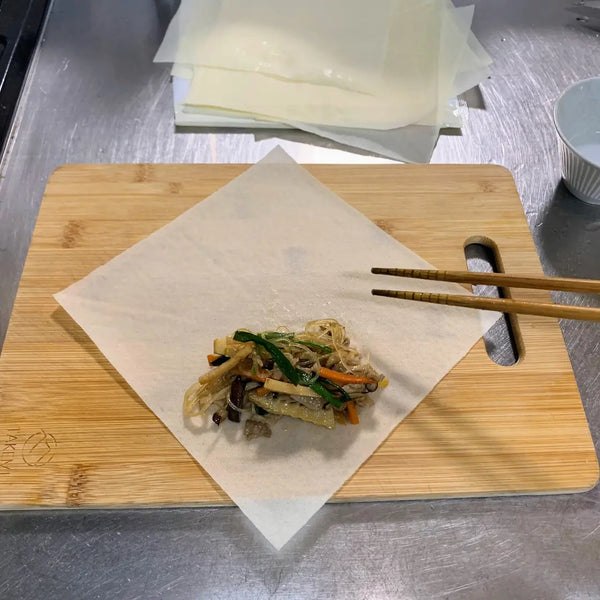
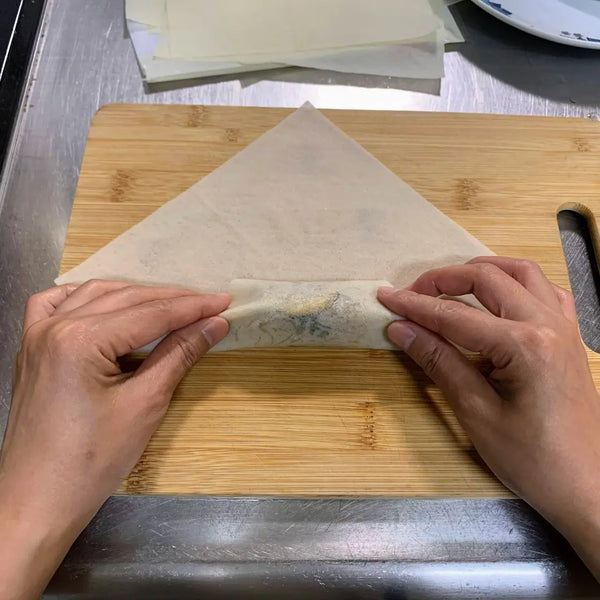
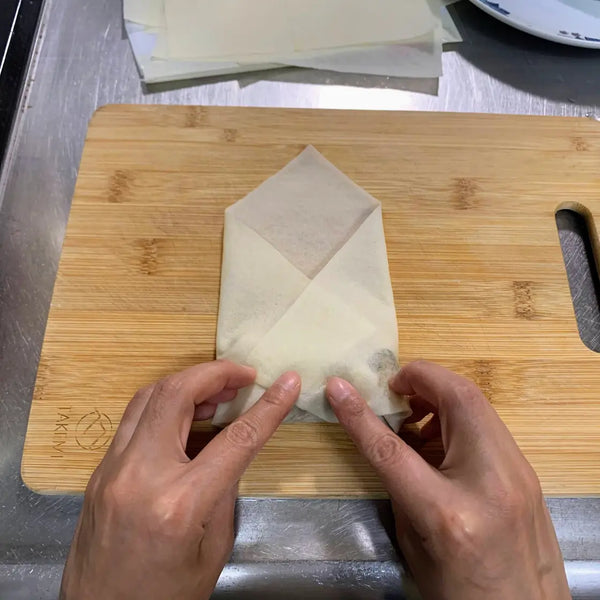
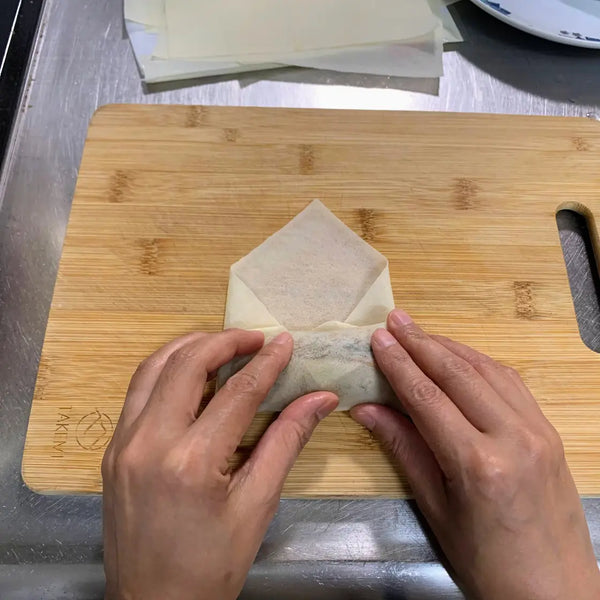
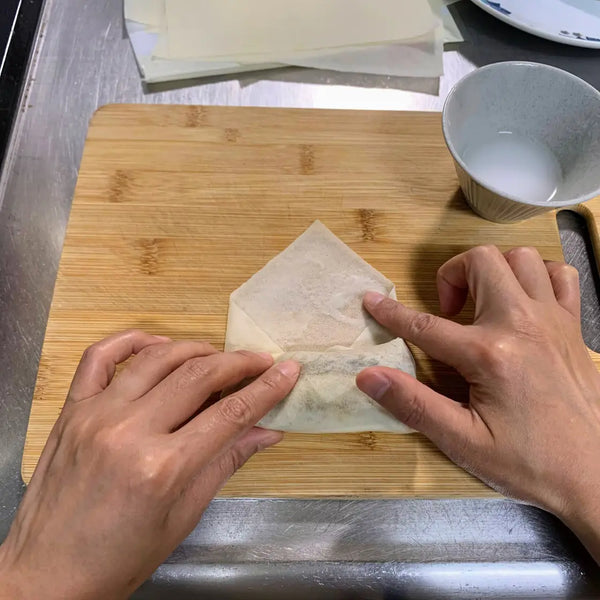
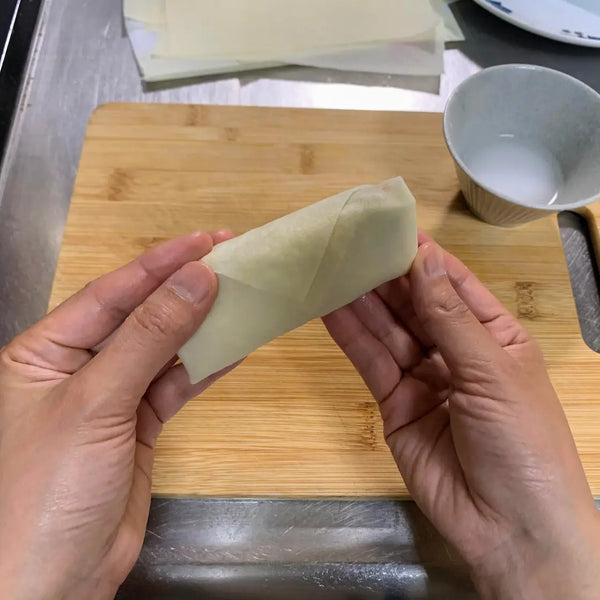
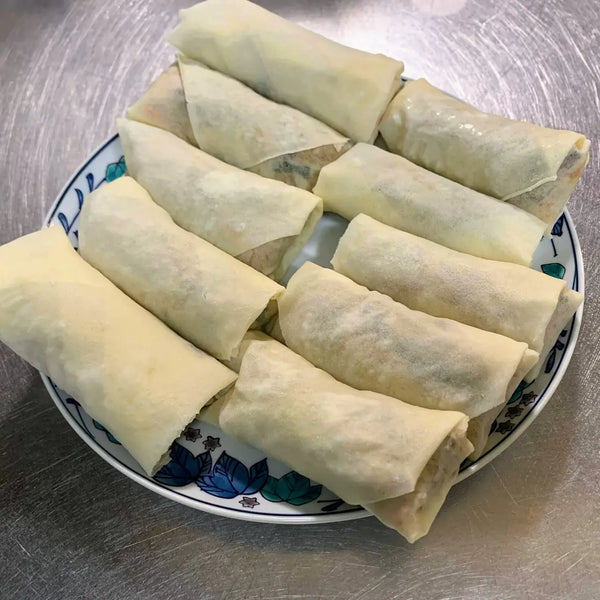
To learn how to fold egg rolls, start by placing an egg roll wrapper on a clean surface with a corner facing you. Spoon a small amount of your desired filling onto the center of the wrapper, then fold the bottom corner over the filling, tucking it in tightly. Next, fold in the left and right corners to create a pocket, and continue to roll the egg roll away from you until you reach the top corner. Before sealing, lightly wet the top corner with water to help it stick. This technique ensures that your egg rolls are securely wrapped and ready for frying or baking, making it easy to enjoy delicious homemade harumaki!
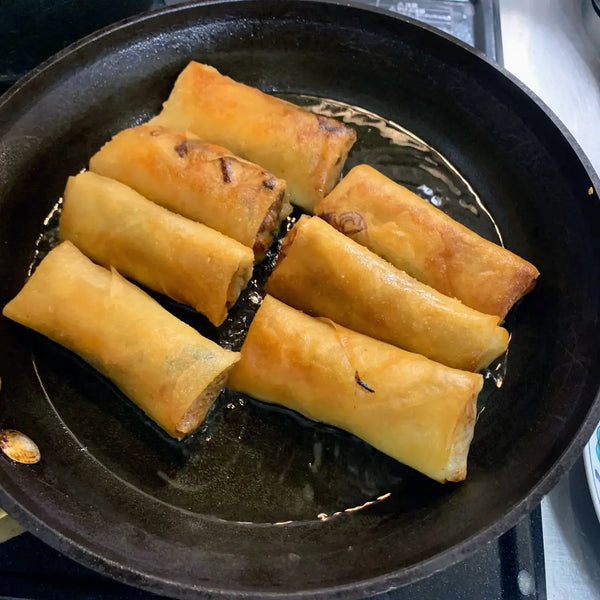
Since harumaki is deep-fried, it tastes best when eaten right after it has been made. If you have any leftovers, you can store them in the refrigerator. When you’re ready to eat them, first microwave them for about 1 minute, then toast them in a toaster oven for 2-3 minutes to make them a little crispier.
Today we'll be showing you a traditional harumaki recipe using pork. We hope you’ll like our recipe and try it out for yourself at home. Let us know in the comments how it turns out!
Overview
Prep time: 30 mins
Cook time: 15 mins
Total time: 45 mins
Total servings: 10
Difficulty: Medium
Ingredients
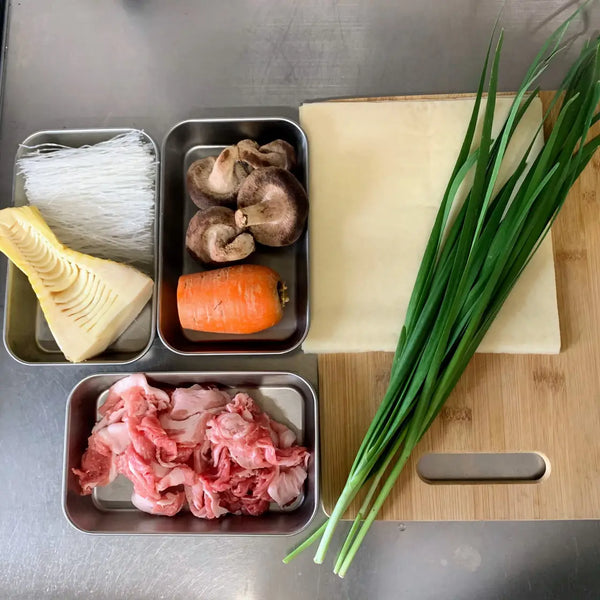
- 150g Sliced Pork
- 50g Carrot
- 100g Boiled Bamboo Shoots
- 40g Nira (Chinese Chives)
- 4 Shiitake Mushrooms
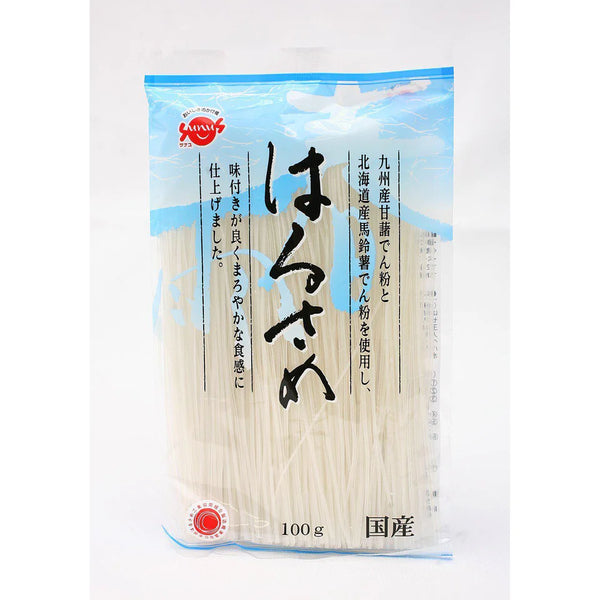
- 40g Harusame (Dry Glass Noodles)
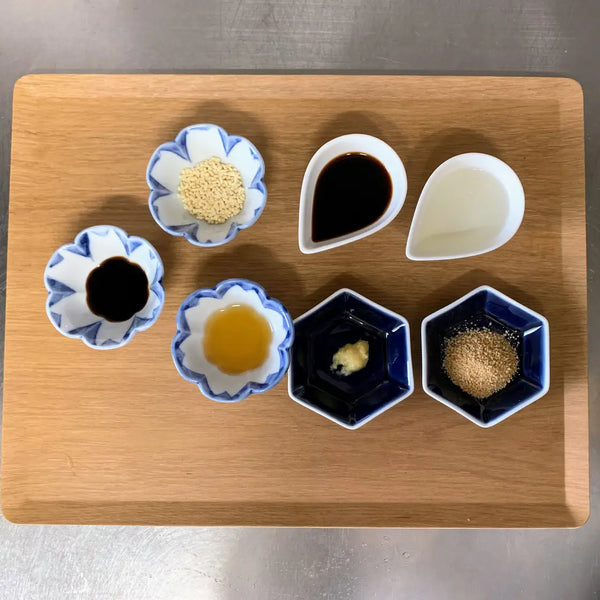
- 100ml Water
- 2 Tbsp Soy Sauce
- 2 Tbsp Sake
- 2 Tbsp Mirin
- 1 Tbsp Sugar
- 2 tsp Chicken Broth
- 2 tsp Oyster Sauce
- 1 tsp Grated Ginger
- 2 Tbsp Water (for the filling)
- 1 Tbsp Potato Starch (for the filling)
- 1 Tbsp Water (for sealing the wrappers)
- 1 Tbsp Potato Starch (for sealing the wrappers)
- 10 Eggroll (Harumaki) Wrappers
- Oil, for deep frying
Expert's Tip
Instructions
1) Gathering the Ingredients
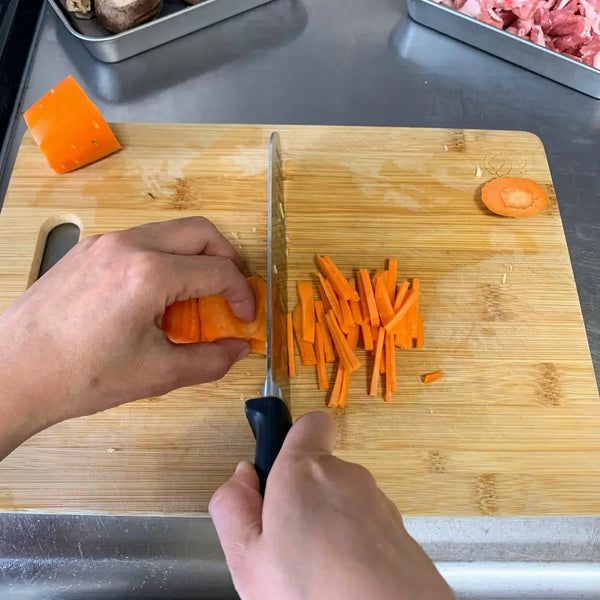
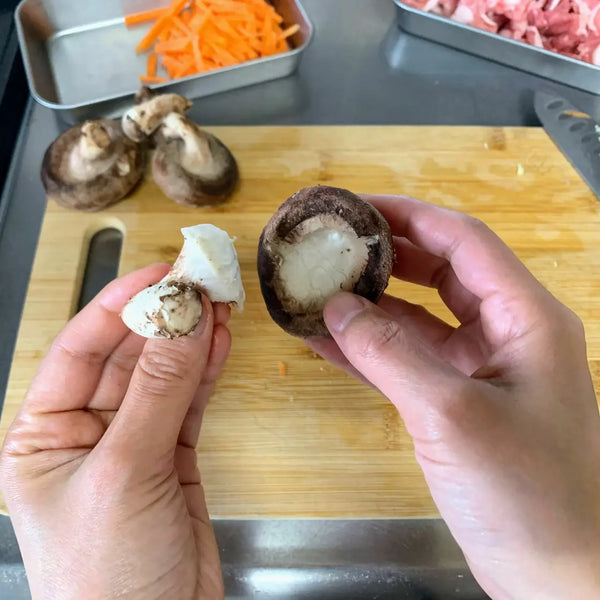
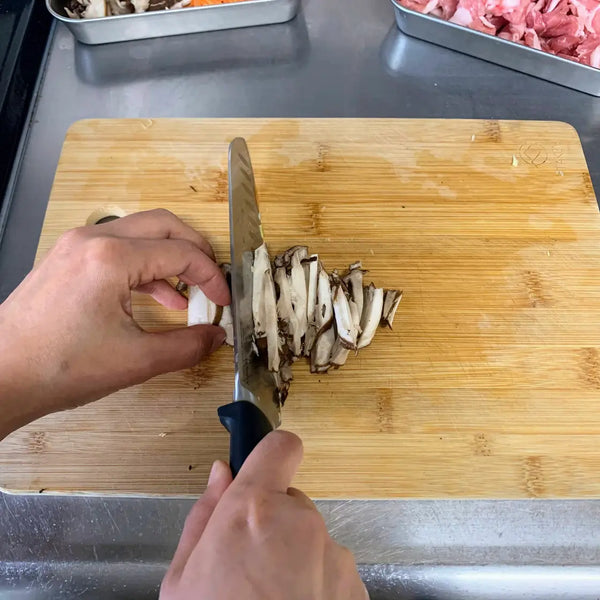
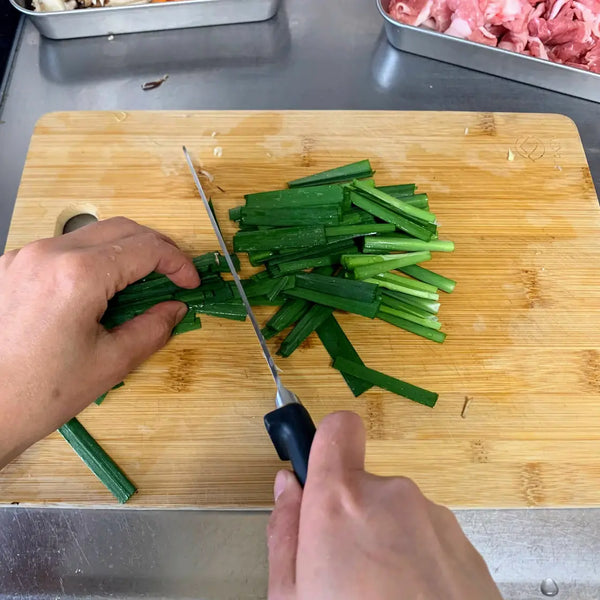
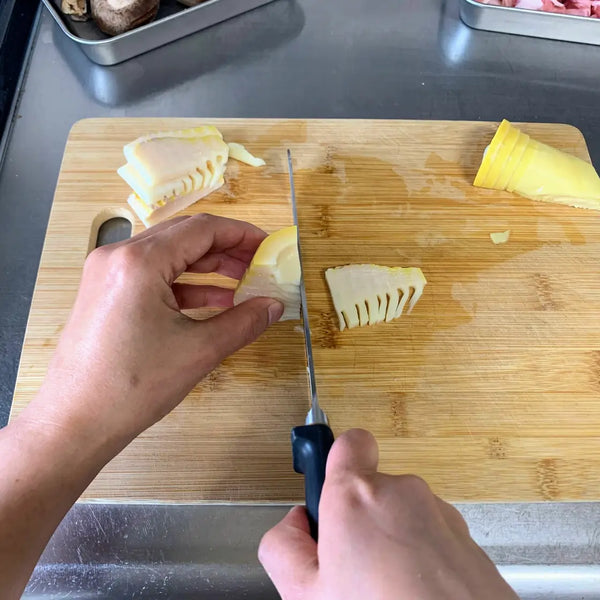
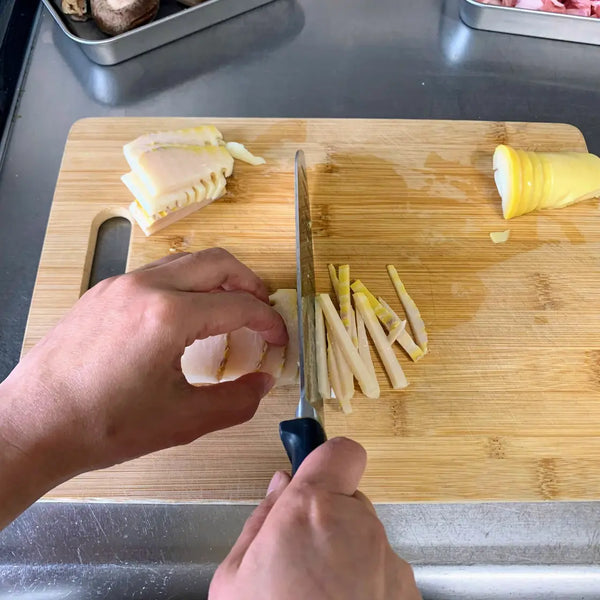
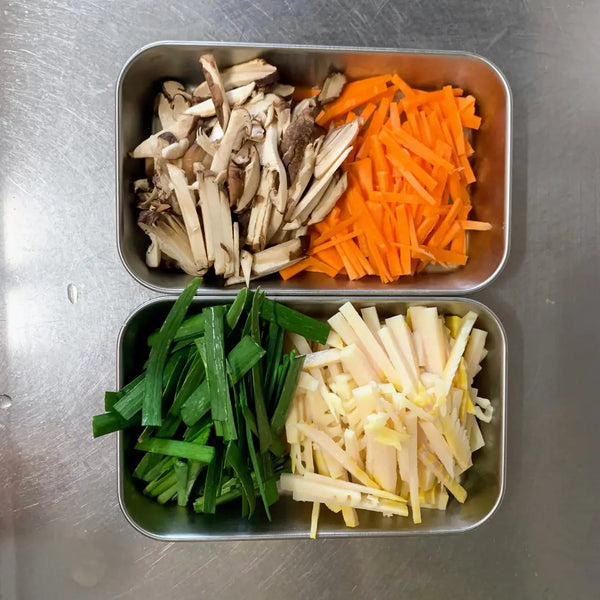
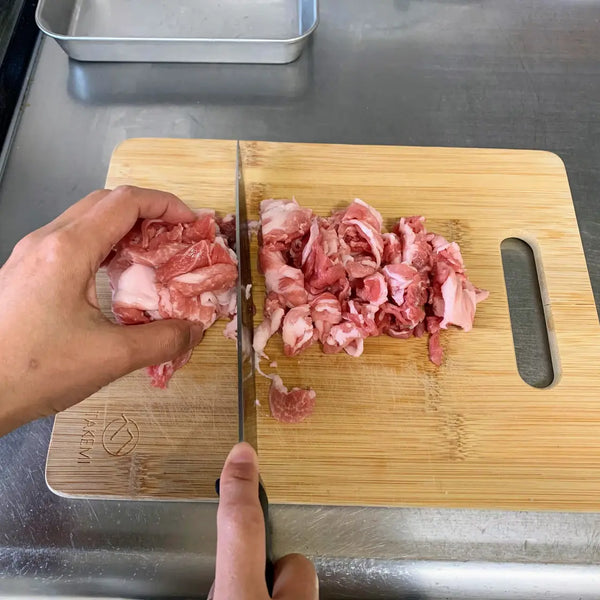
2) Preparing the Meat and Vegetables
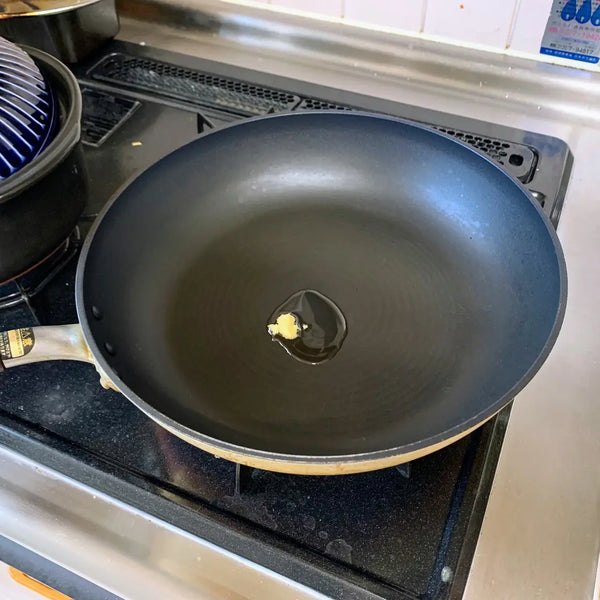
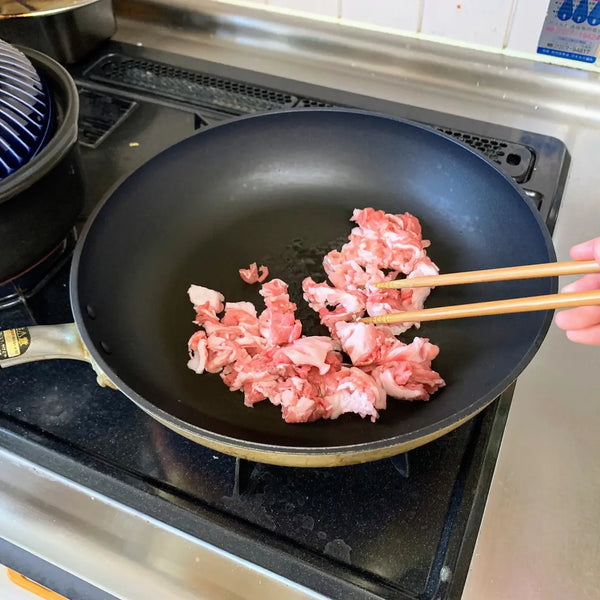
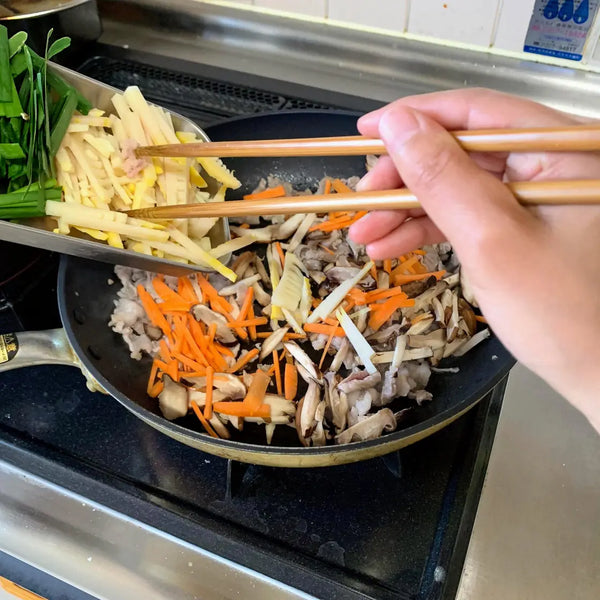
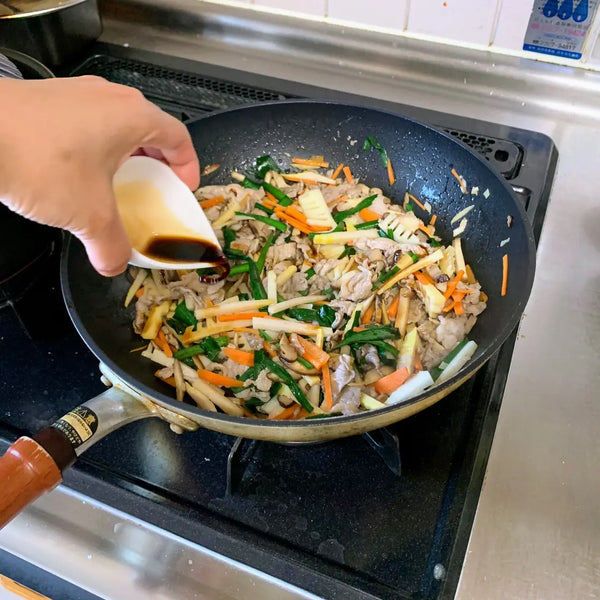
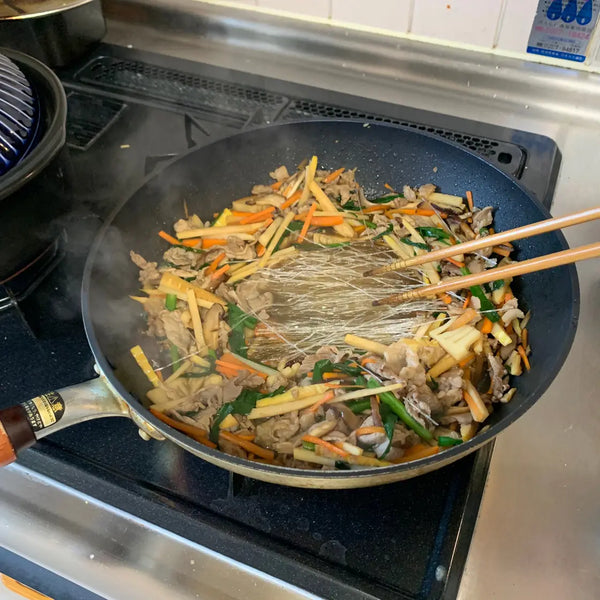
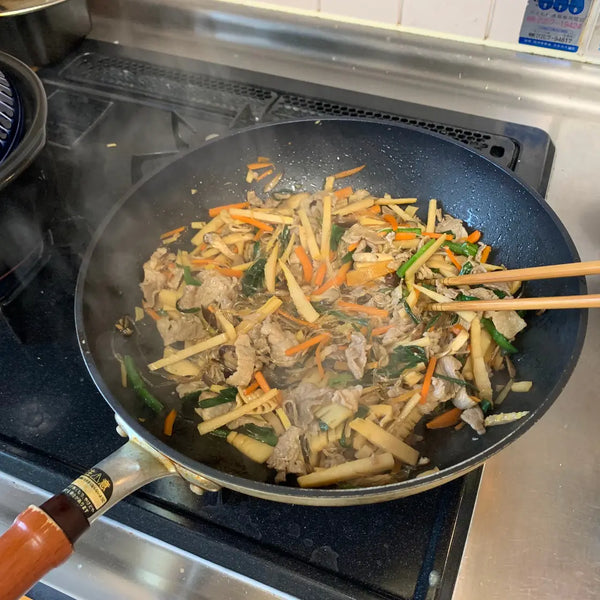
3) Stir-frying the Meat and Vegetables
4) Adding in the Glass Noodles
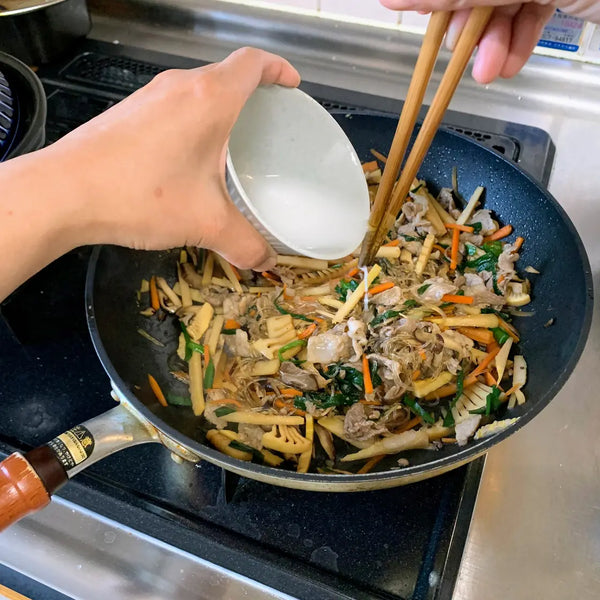
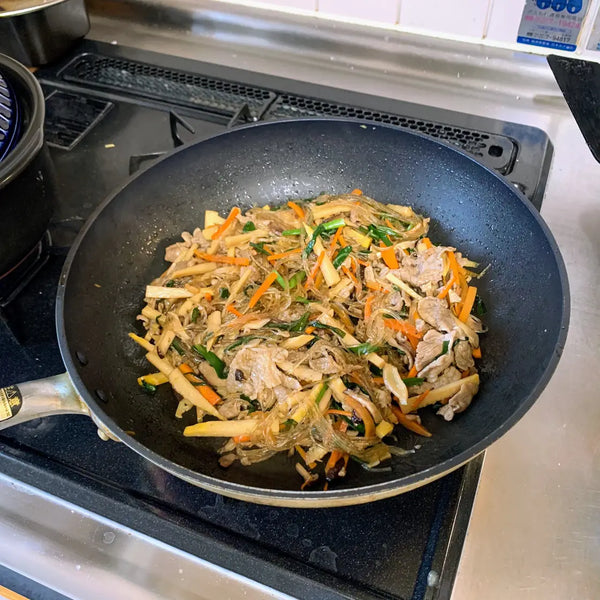
5) Adding the Slurry to the Harumaki Filling








0 comments