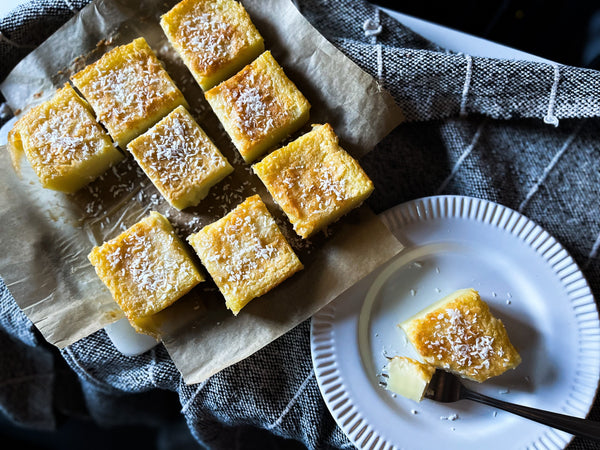
How To Make Butter Mochi (Hawaiian Butter Mochi Cake)

How To Make Butter Mochi (Hawaiian Butter Mochi Cake)

by Mana Sobral

Coconut Crowd Pleaser Dessert Fusion Food Gluten Free Make Ahead Mochi Party Food Potluck-Friendly Vegetarian

Butter mochi, a favorite treat from Hawaii, is something special. It's like a mix of Japanese mochi and Western-style desserts, all wrapped up in one. You use sweet rice flour (also called glutinous rice flour or mochiko), coconut milk, eggs, sugar, and butter to make it. The result? A chewy, dense cake that's moist and oh-so-rich.

So, how did butter mochi come to be? Well, it all goes back to Japanese immigrants in Hawaii. They brought their mochi-making tradition with them, but over time, they started adding local and Western ingredients. That's how butter mochi was born! It's simple but versatile, with locals even creating flavors like vanilla, pandan, or chocolate.

Making butter mochi is pretty easy. You mix the wet ingredients with the sweet rice flour to make a batter. Then, you pour it into a baking dish, add some coconut flakes on top, and bake until it's golden brown. The end result? A cake with a golden crust and a soft, chewy inside that's sweet and a bit savory, thanks to the coconut milk and butter.

Now, butter mochi is definitely a treat. It's high in carbs and fat, so it's best enjoyed in moderation. But people love it! It's like a taste of Hawaii in every bite.

And guess what? Butter mochi isn't just for Hawaii anymore. It's gone global! Thanks to social media and the internet, food bloggers and chefs everywhere are getting creative with it. You'll find all sorts of flavors, from classic to trendy, like matcha or ube.

But no matter how you slice it, butter mochi is all about celebrating different cultures and flavors. It's a tasty reminder of Hawaii's culinary diversity, and it's a treat that everyone can enjoy.

Overview

Prep time: 10 mins

Cook time: 30 mins

Total time: 40 mins

Total servings: 9

Difficulty: Easy

Ingredients
  • 85 g Salted Butter, melted
  • 220 g White Sugar
  • 2 Eggs
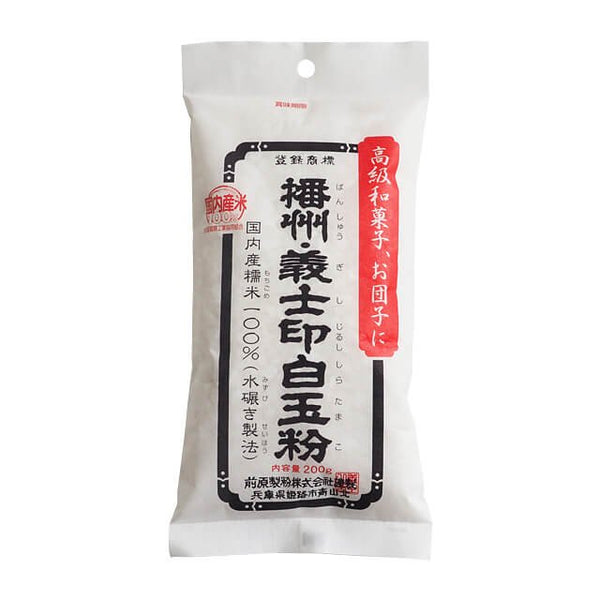
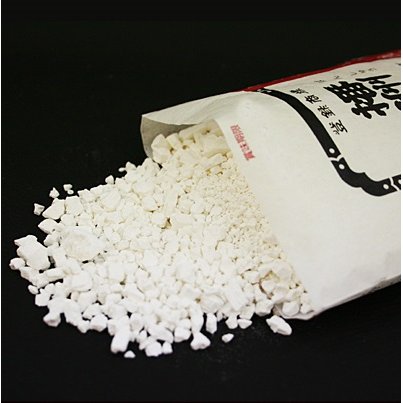
  • 220 g Rice Flour (Sweet Glutinous Rice Flour)
  • ½ tsp Baking Powder
  • 220 ml Milk
  • 200 ml Coconut Milk
  • 1 tsp Vanilla Extract
  • Unsweetened Coconut Flakes (for garnish, optional)

Expert's Tip

Enzo-Durable-Stainless-Steel-Mixing-Bowl-1-2023-11-07T02:29:00.332Z.png

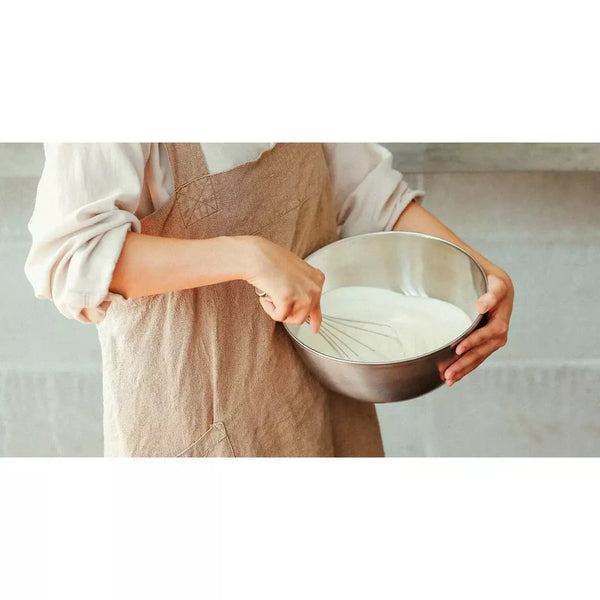
If you find yourself using a mixing bowl frequently throughout the week, consider upgrading to Enzo's durable and stylish mixing bowl. Unlike conventional bowls that scratch easily and lack depth, Enzo's stainless steel bowls are designed to withstand heavy use without denting or warping. With a deep, plunging design to prevent spillage and premium stainless steel construction, these bowls offer both functionality and elegance in the kitchen. They are perfect for mixing together the batter for butter mochi as well!

Instructions

1) Gathering the Ingredients & Recipe Preparations

Gather the ingredients together and preheat the oven to 350°F.

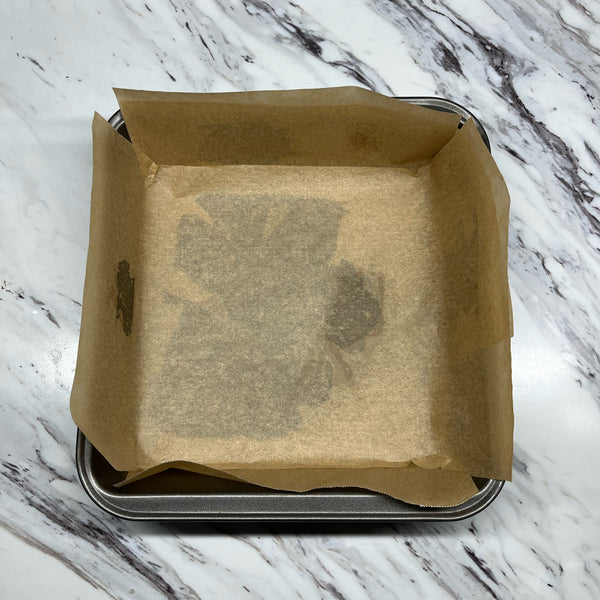
Line an 8-inch x 8-inch brownie pan with parchment paper.

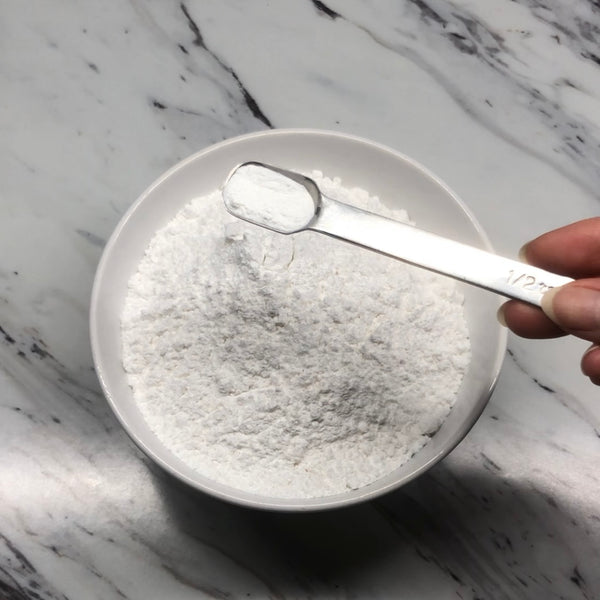
Mix rice flour and baking powder in the same bowl.

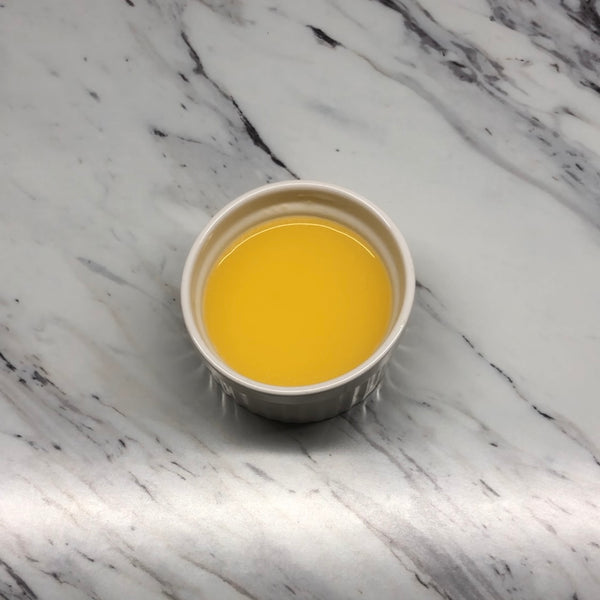
Melt the butter in the microwave for 20 seconds (1000W).

2) Mixing the Wet Ingredients Together

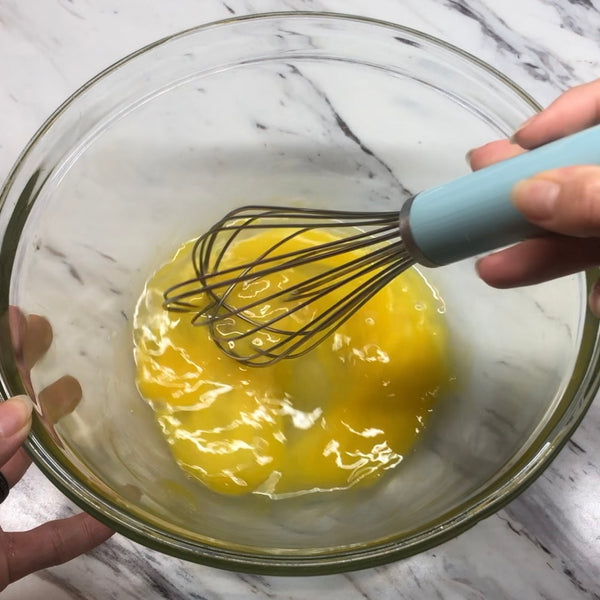
Beat the eggs in a large bowl.

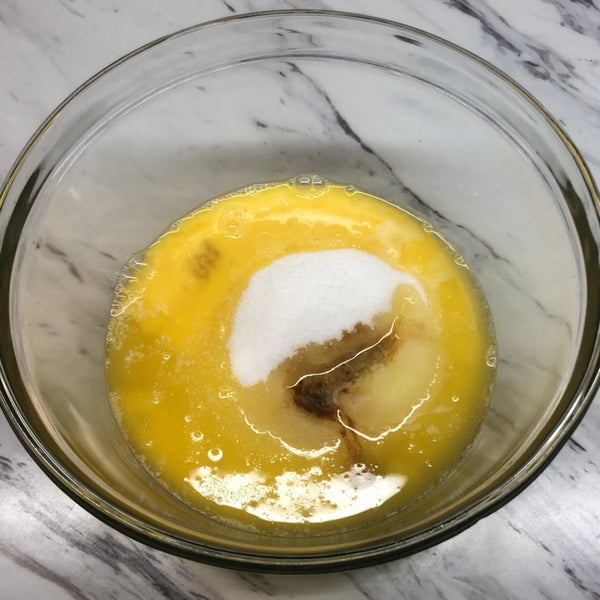
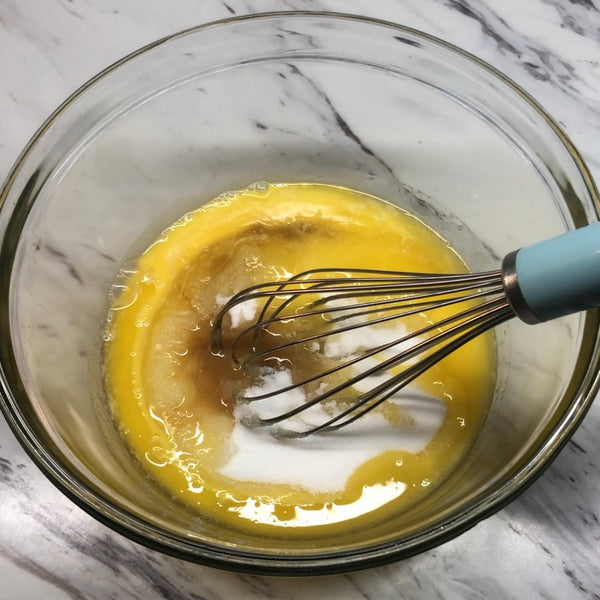
Add white sugar, melted butter, and vanilla extract to the eggs.

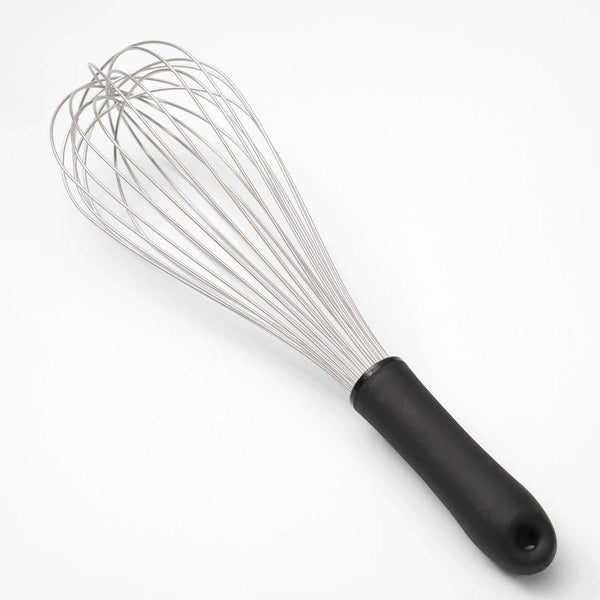
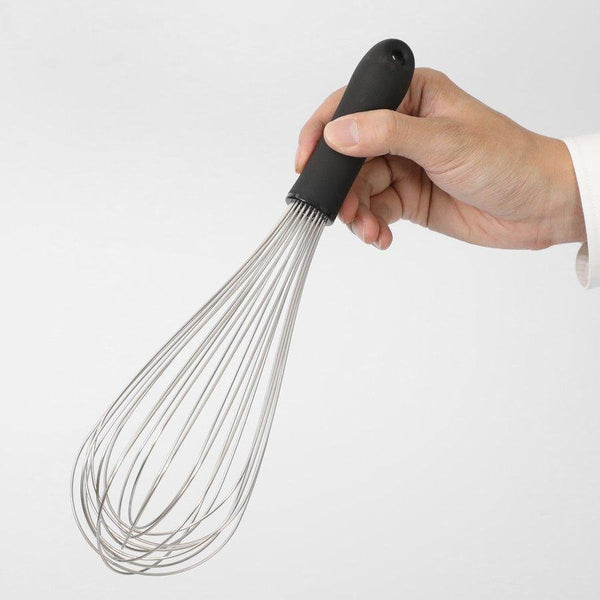
Mix well with a whisk.

3) Adding the Coconut Milk to the Wet Batter

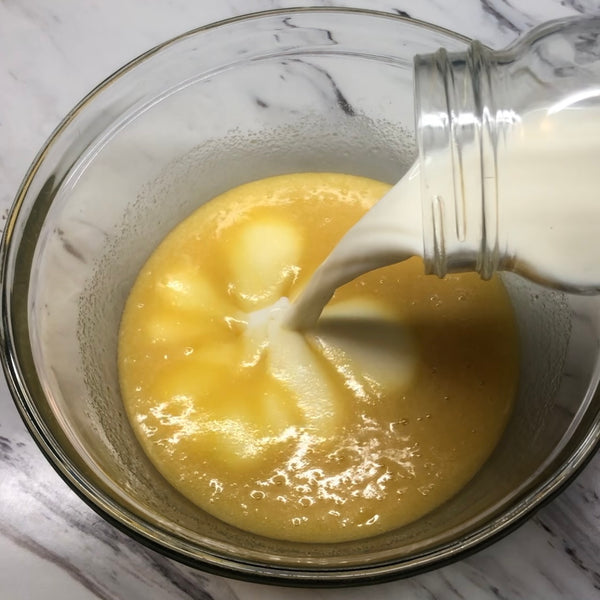
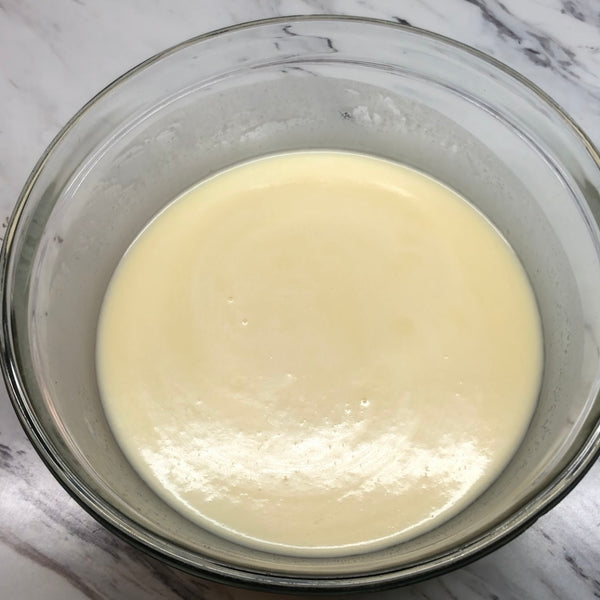
Pour the coconut milk and regular milk into the mixture.

Mix well until thoroughly combined.

4) Adding the Dry Ingredients

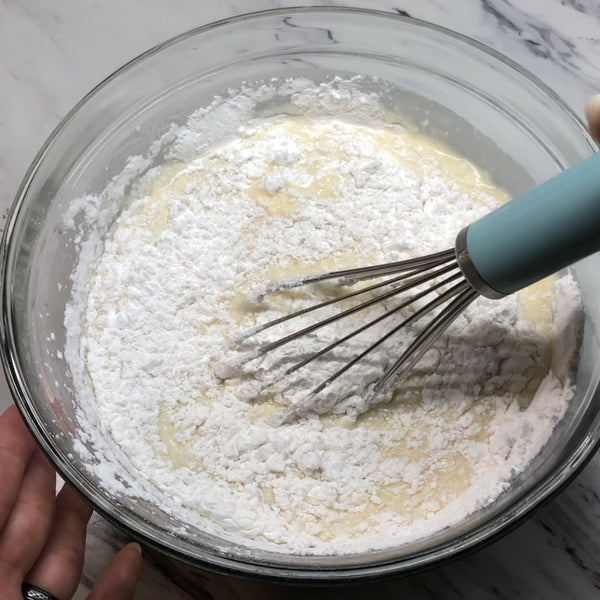
Add the rice flour mixture to the wet ingredients.

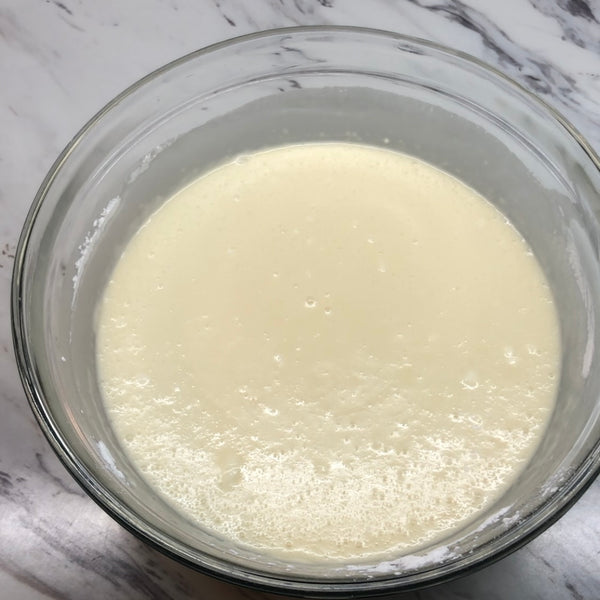
Mix thoroughly until well combined.

5) Pouring Butter Mochi Batter Into The Baking Pan

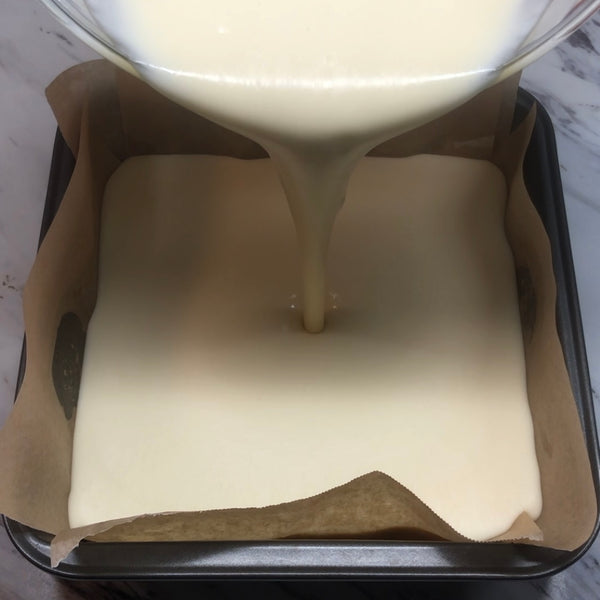
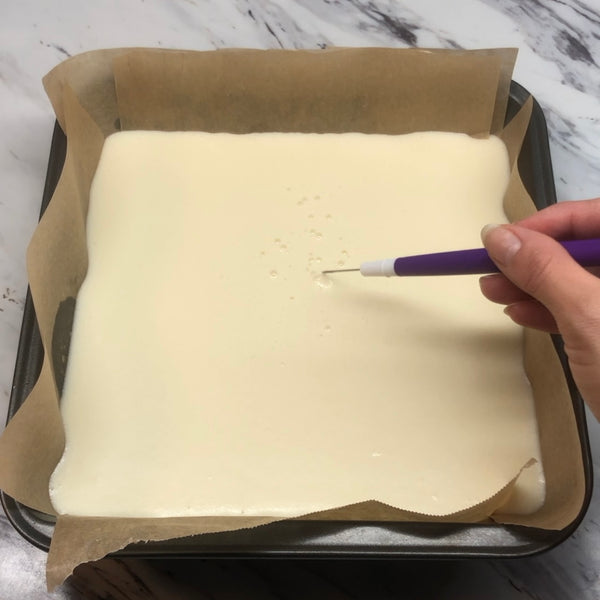
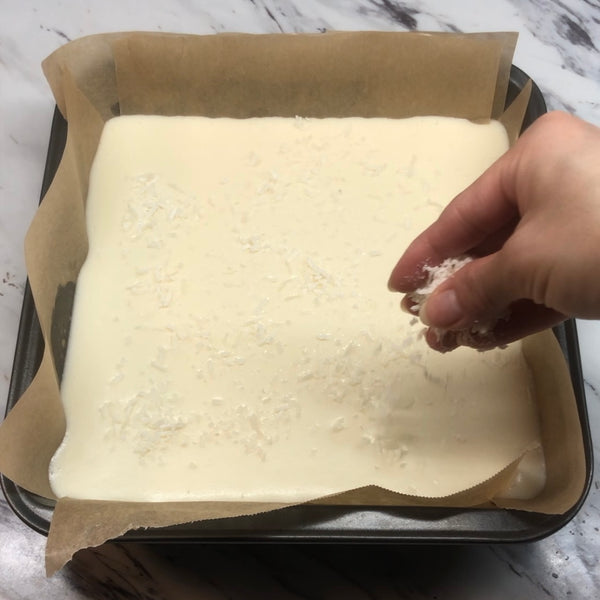
Pour the batter into an 8-inch x 8-inch brownie pan lined with parchment paper. If desired, sprinkle coconut flakes on top of the batter.

6) Baking the Butter Mochi

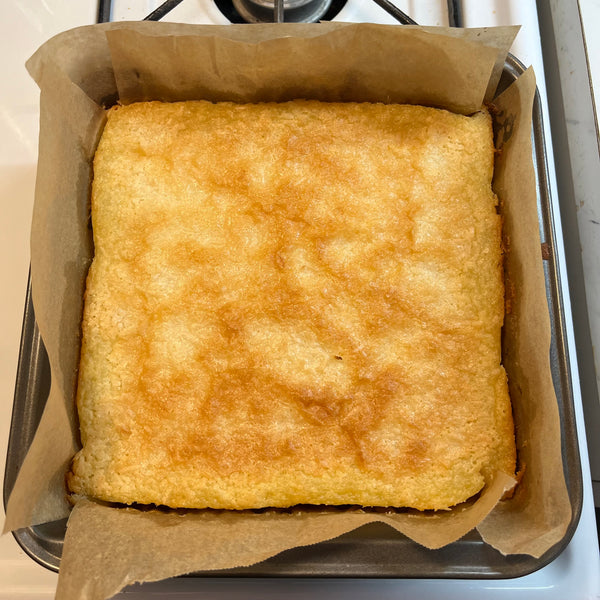
Place the butter mochi in the preheated oven and bake for 30 minutes.

7) Taking Butter Mochi Out of the Oven

You'll know that the butter mochi is ready when the edges and the top are a nice brown color!

8) Enjoying Butter Mochi

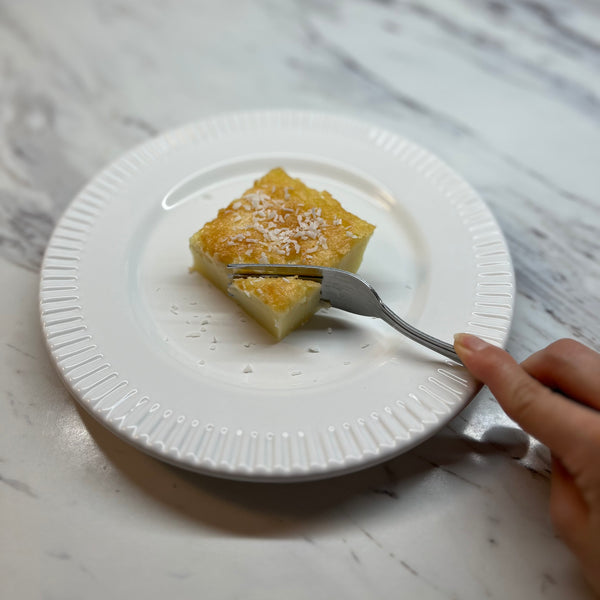
Let your butter mochi cool slightly, then sprinkle the extra coconut flakes, cut it into your preferred size and enjoy!

Recommended products for this recipe

0 comments


Leave a comment

Please note, comments must be approved before they are published